Lino printing is a good way of producing the same design lots of times - once you have cut your lino design, you can use and re-use your print as often as you like. All you need to do is make sure you wash your lino stamp after every use and get as much of the paint off as you can.
One word of warning about cutting lino though - those blades are sharp, please always cut away from yourself and keep your fingers well out of the way.
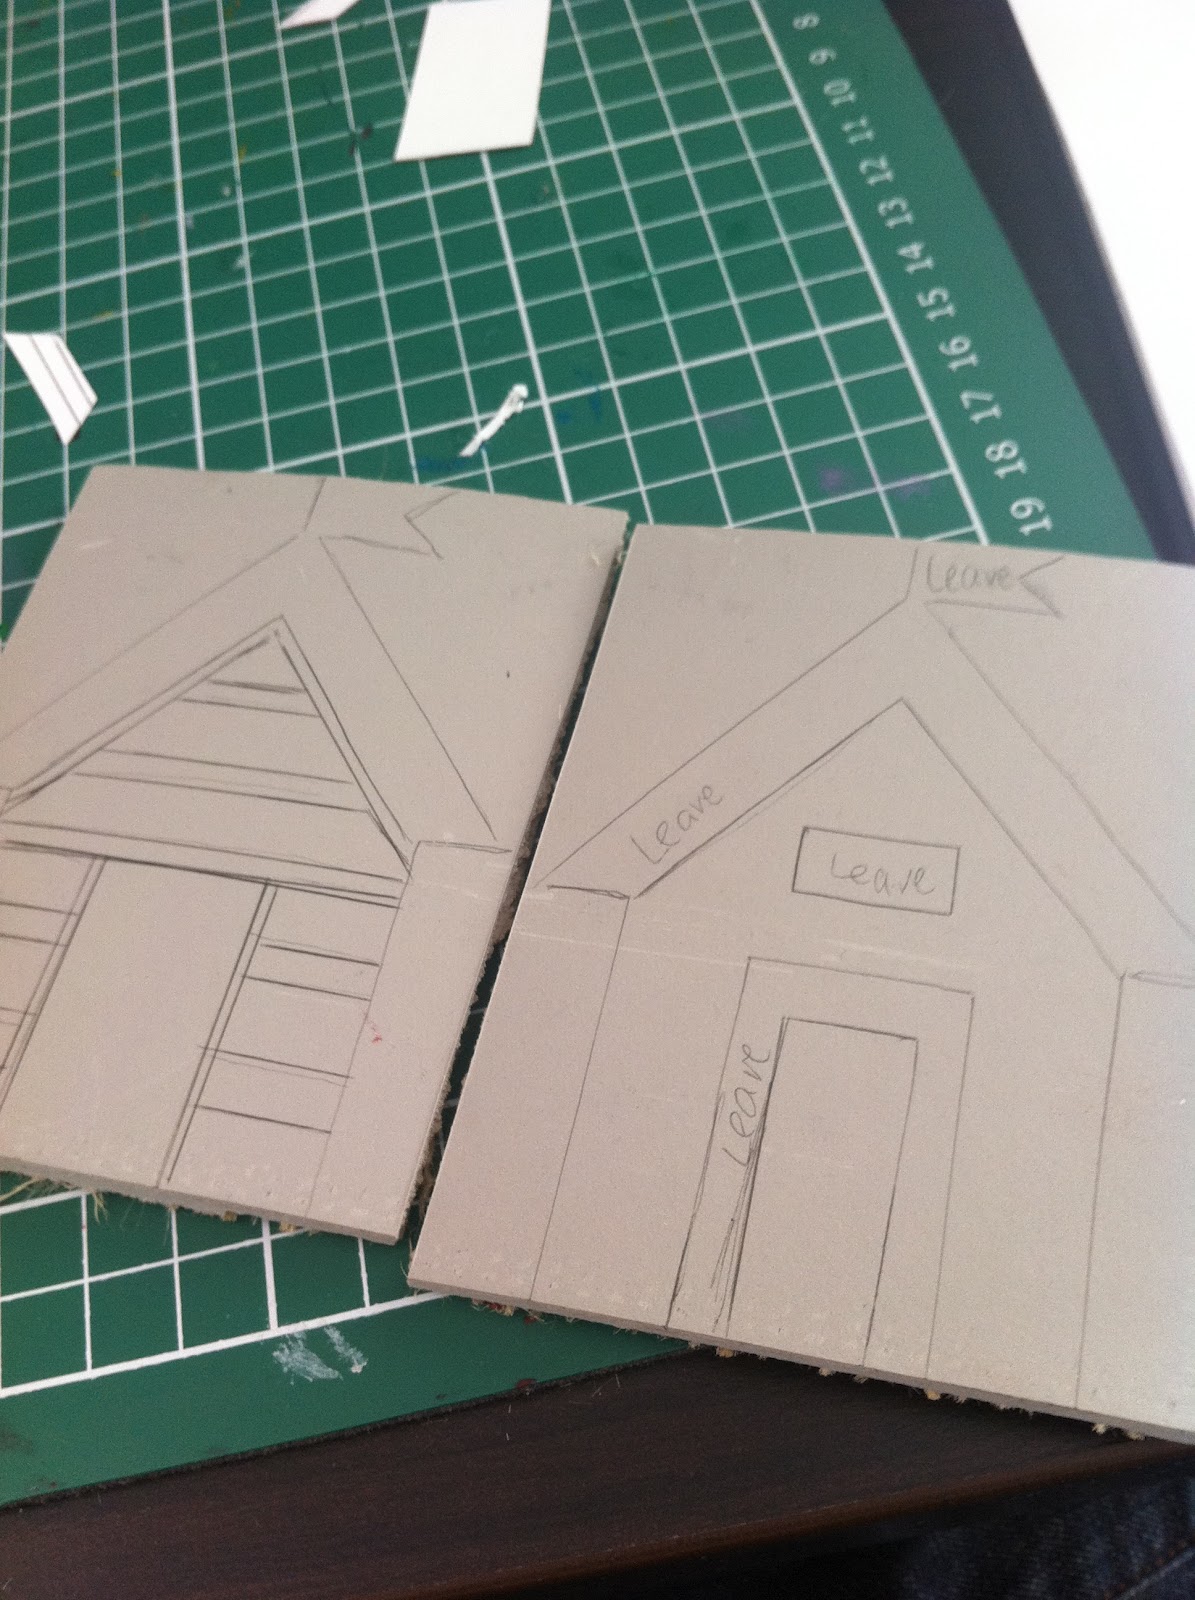
1) Draw out your design on some paper in the size you want it to be.
2) Transfer the design onto the lino by cutting around the outside edge and then cutting out each of the different parts


3) Using a fine lino blade, cut around the edges that you need.
4) Now start getting rid of all the excess lino - use one of the wide blades to clear as much as you can. The bits that are cut away will not be part of the design, the raised bits that you leave behind are the design that will end up being printed and transferred.
5) You want to get a difference between levels - the bits that are going to be printed need to be as high as you can and try to get a 90 degree angle on the edges if at all possible. Use you favourite blade to cut away and smooth out the lino.
6) If you have large areas at the side of your lino block that are not part of the design, it's a good idea to trim these edges off - that way you won't accidentally get paint on them which might smudge onto your design.
7) Once you have finished cutting your lino, you are ready to print! All you do is cover the raised parts of your lino block with paint (Acrylic is probably best. If you are printing onto fabric then mix it with a fabric medium)
8) Turn your design over and place it carefully onto your object to be printed. Press down hard and make sure you press over all the different parts evenly or else it will come out fuzzy around the edges.
9) Carefully remove your lino block from the print and... wow that looks awesome!
Now that you've made your lino print, you can print the same design again and again and again and a- ... you get the picture!


.JPG)


.JPG)